 Since I bought a 255GB flash drive, I kind of switched from using external hard drives to flash drives. The reasons are obvious, using a flash drive is just easier and more comfortable.
But I’m a sloppy person and tend to leave my flash drives lying around just about everywhere, making it easy for others to take it or have a peak. In my windows days I bought a special app to secure my flash drives but since I switched to Mac I didn’t encrypt my drives anymore. Anyway, today I decided to secure my flash drives so here’s how you do that on OSX without any 3rd party app.
So here it is.
Erase Your Flash Drive
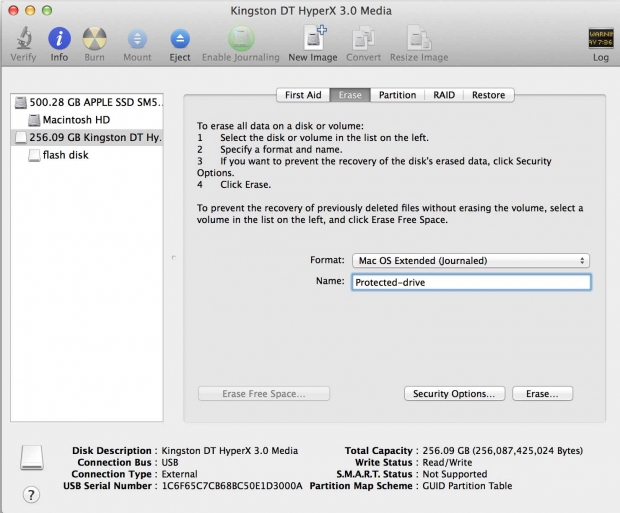
This is not 100% necessary if the format of your flash disk is already “Mac OS Extended (Journaled) ” but for clarity sake I’m gonna show you a clean install. So open Disk Utility (Applications > Utilities > Disk Utility) and select your flash drive in the left pane. Click “Erase” in the top of the main pane, enter a name for the drive and click the button “Erase” in the bottom of the main pane.
Create A Blank Encrypted Password Protected Image File
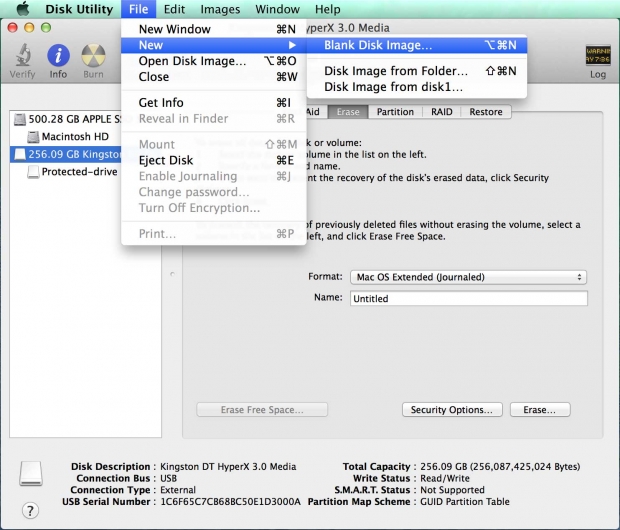
Next you want to create a blank encrypted disk image, so in Disk Utility  go to File -> New -> Blank Disk Image.
Next you will see this window:
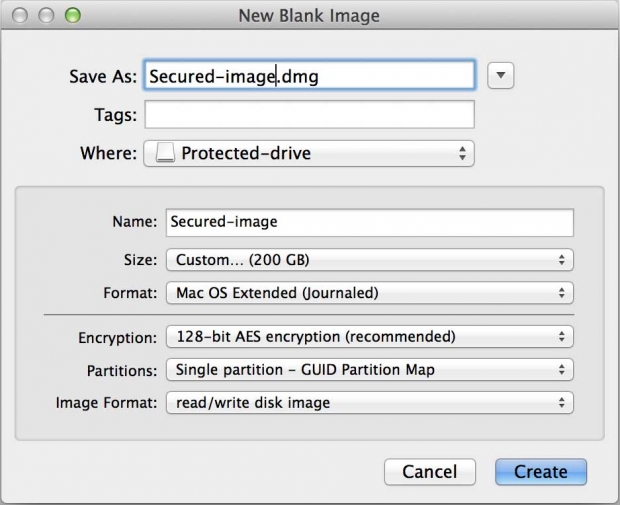
This is where you have to pay attention, please make sure of the following:
- In the “Where” field, make sure you have selected your USB flash disk, this is not selected by default!
- Select custom size and set it according to how big you want your drive to be
- Choose the encryption level you want
- Make sure the other settings are the same as in the screenshot
- Click “Create”
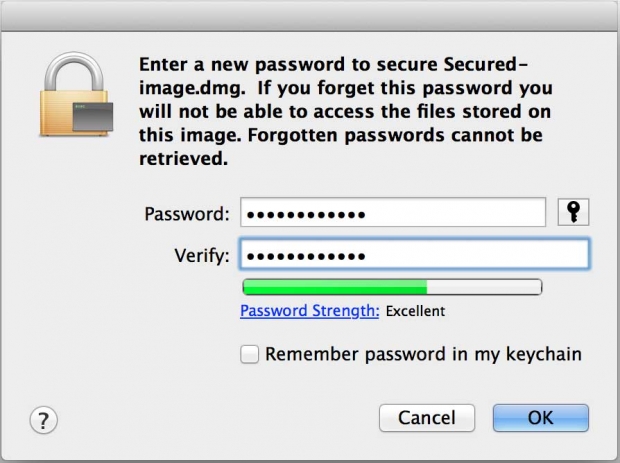
Next you will see this popup:
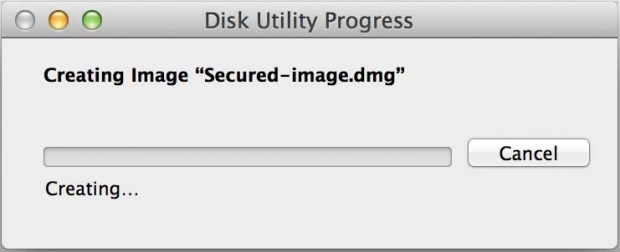
Quickly followed by this window:

This is where you enter your password.
NOTE: if the check box “Remember password in my keychain” is checked, you won’t be asked for a password on this specific PC/laptop since it basically stores the password in its memory. So I prefer to uncheck it because else it kind of fails the whole purpose.
Next it will format the disk image and you’re done. When you now unmount your flash disk and mount it again you will see the following:
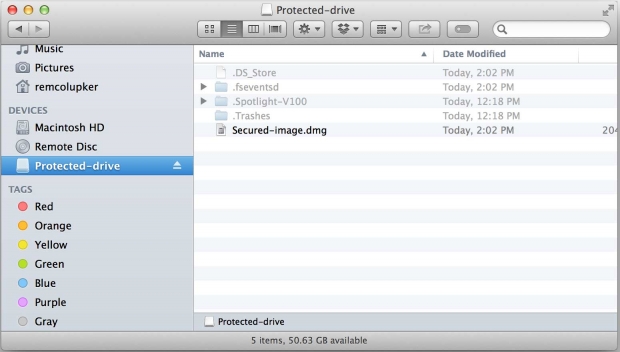
Notice that the flash disk itself is not protected, but the disk image on the flash disk is the protected disk. So you need to mount it (just double click the image file) and you will be prompted for the password:
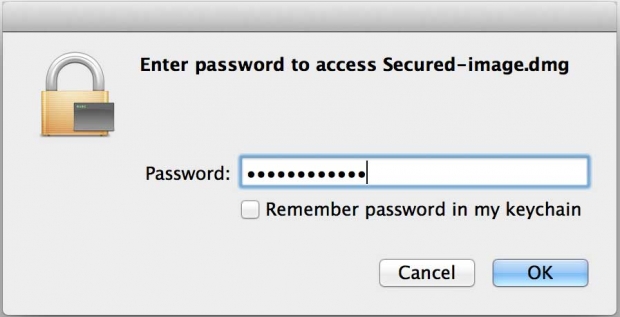
Once you’ve entered the correct password and clicked ok, the disk image is mounted and you can now save your data to the disk image by selecting it under the available devices as done in the next screenshot.
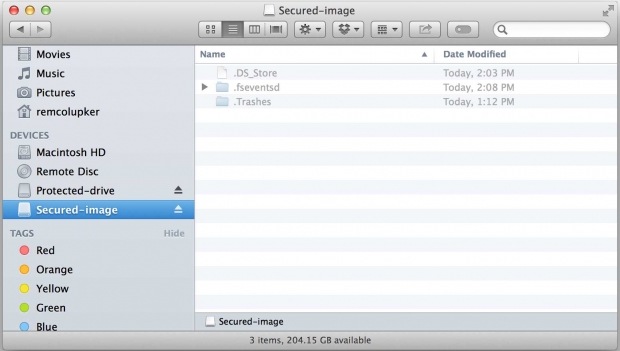
And there you have it, a password protected and encrypted USB flash disk.