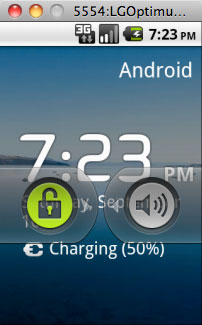
 Android has become a serious candidate for dominance in the world-wide booming mobile Internet market. So any web developer that takes his/hers job serious should develop their (mobile) site taking into account mobile users and devices. Because there’s already a staggering amount of Android devices and software versions it’s impossible to buy all Android devices. Luckily Google comes to the rescue with an Android Device Emulator which is part of the Android SDK. With this emulator you will be able to test your site on literally ANY Android device imaginable, including non-existing. For Sangat Pedas a nice occasion to put both the Android Device Emulator and this site to the test.
A heads up first, all website tests of the Android Device Emulator are conducted on a Macbook Pro running Snow Leopard OS X 10.6.8 but since this SDK should be pretty OS independent I think most will apply for Windows users as well.
Installing the Android SDK
The Android SDK can be found here and is available for Mac, Windows and Linux. After downloading the zip file, copy it to a location and unzip the file. Just for easy reference, I’ve installed the SDK in a folder named data. Next open a terminal sessions (on Windows a DOS session) and browse to the folder ../android-sdk-mac_x86/tools. Next type the command ./android which will start the “Android SDK and AVD Manager“, unlike the screenshot the device list will still be empty.
Before you can get started you need to do an install some packages and do an update because out-of-the-box the SDK has no “targets” and you won’t be able to create virtual devices for your emulator. In retrospect, I’m not sure if you have to install the available packages but I did it anyway and it worked for me.
So first click on “available packages“, select both and click in the bottom-right on “Install selected”. In my case this took a while and I guess the 3rd party add-on packages weren’t really necessary. During install you might see an error like “adb kill-server failed”, don’t worry about that that will be solved in the next step.
Once you’ve installed the packages you need to update all packages by going to “Installed packages” and clicking in the bottom-left on “Update All”. This will take a while.
Creating virtual Android devices
This is where it obviously gets interesting, we’ve got the SDK and emulator running and can get started making emulators. Let’s start with an oldie, the LG Optimus One P500, running Android Froyo 2.2. First check the screen size and resolution of the device, in this case the screen size is 3.2″ (81 mm) and the resolution is 320×480px HVGA @ 180ppi.
Go to virtual devices and click in the top-right on “new” and make the settings as shown in this screenshot. Once you’ve created the device, select it in the device list and click “Start…”. Now, and this is really important, you need to make the correct settings in this screen to make the device showing on your screen in exactly the right size. In this screenshot you see I’ve made the right settings for the device but you still need to set your monitor’s dpi. This can be done easily by clicking in the question mark next to the field and enter the physical screen size of your monitor, in my case 13,3″. After you’ve done that click “ok” and then click “Launch” and the Android emulator will be opened.
For a while you will be looking at the boot screen up to the point where you think it’s not working, but be patient, it just takes time for the emulator to launch. And voila, we have an Android emulator, going back in time while praising progress.
After unlocking the screen and opening this site in the browser I find out that even on a pretty crappy Android device it still looks pretty ok:
Well, moving on to a device that’s a bit more “today”, let’s see how this site looks on a Samsung Galaxy S2. Again you create a new device using the specs of the Samsung Galaxy S2 and throwing in some Photoshop magic you get something like this:
Yep, don’t you just love the progress mobile devices have made in just little over a year, this looks extremely well in my opinion. As for navigation, just use the arrow buttons up and down, it will give a nice smooth experience where swiping is just too much input at the time for this emulator.
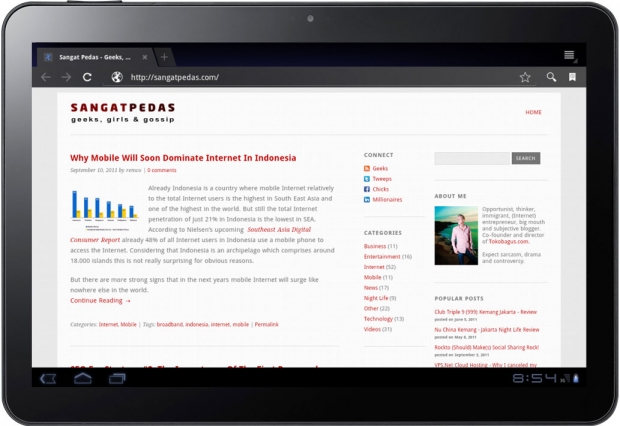
When you want to emulate the same device in landscape orientation you just create the same device but swap the horizontal and vertical resolution. Here’s how this site looks on the Samsung Galaxy Tab 10.1 in landscape orientation. I cross checked with the actual device and it’s spot on!


